
Make your first capture with isoboard
To make your first capture, finish the setup guide, press ⌘ Cmd + ⇧ Shift + 2, drag over part of your screen and paste with ⌘ Cmd + V. The setup guide handles the license choice, Screen Recording permission and the model. Downloading isOCR™ takes the longest, about 1 GB.
What do I need before I start?
Section titled “What do I need before I start?”- isoboard installed. See install isoboard.
- A Mac with macOS 14 Sonoma or later.
- An internet connection for the isOCR download, or an API key for an AI provider.
How do I finish the setup guide?
Section titled “How do I finish the setup guide?”The settings window opens by itself the first time you launch isoboard. If it does not, click the isoboard icon in the menu bar.
- Choose how you will use isoboard. Select Continue without a license key to start a seven-day commercial evaluation. Personal, non-commercial use stays free afterward. If you already have a key, select Activate commercial license. See pricing and licensing.
- Allow Screen Recording. Select Ask macOS for access, turn on isoboard in System Settings, and return. Select Continue when the card shows Allowed. Notifications are optional. See grant macOS permissions.
- Set up AI Model. Choose one of two paths:
- Download isOCR™ runs on your Mac, needs no account and works offline afterward. Select the download button, wait for Verifying to finish, then select Continue. You can switch to other apps while it downloads. See run isOCR.
- I’ll use an external LLM provider opens the Providers tab. Add your API key for OpenAI, Anthropic, Gemini or an OpenAI-compatible server, then select Continue.
- Start capturing. isoboard opens the Shortcuts tab and shows your capture shortcut. The Capture button at the top right glows. Select Done.
The progress bar at the top of the guide shows Permissions, Set up AI Model and Start capturing. A Model step appears only when the guide cannot fill in a working Profile for you.
How do I make the capture?
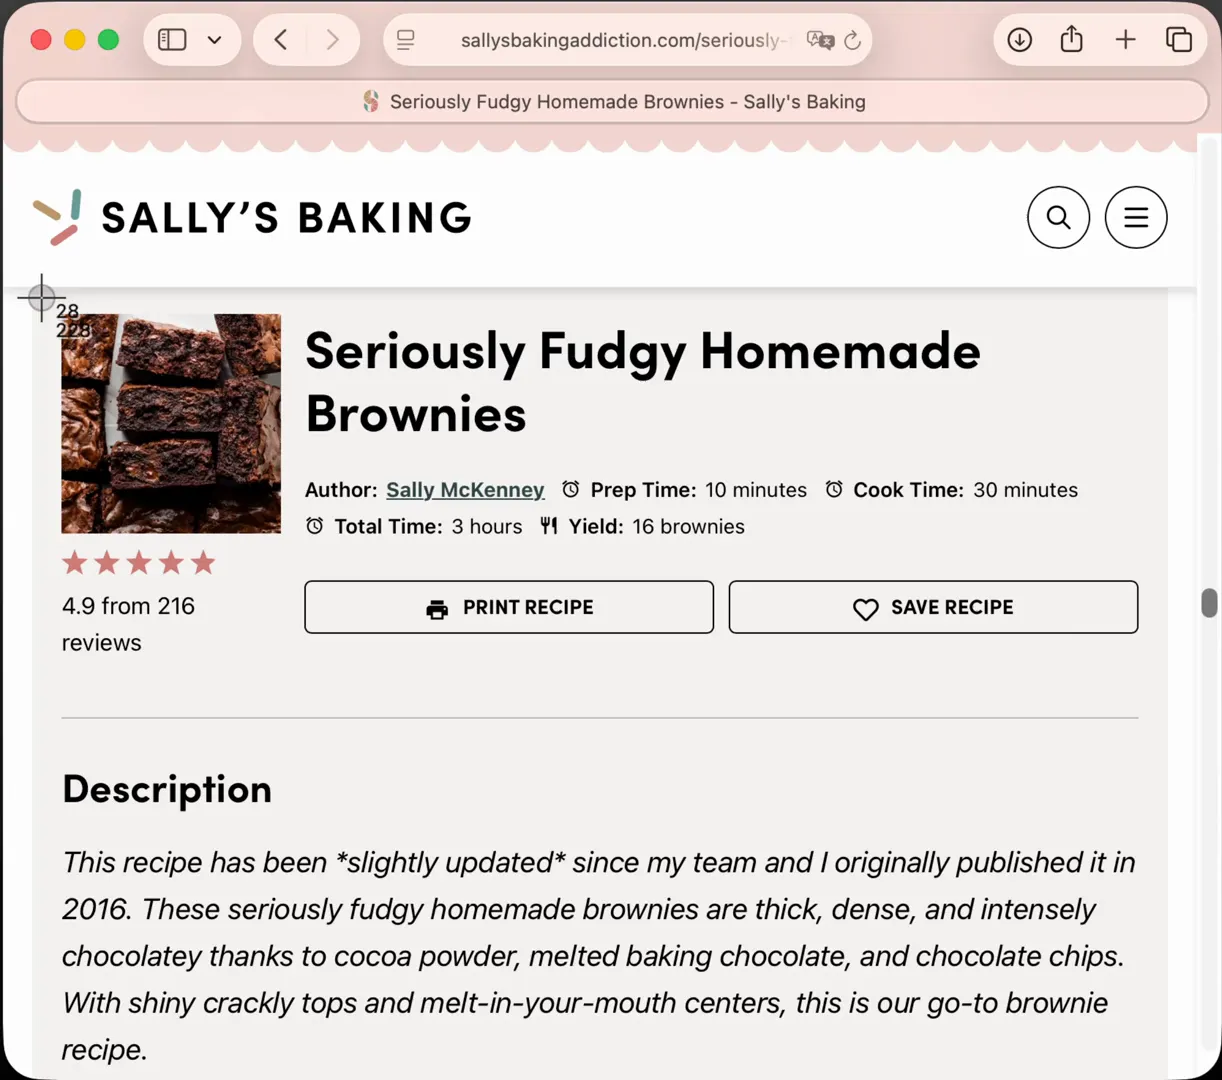
Section titled “How do I make the capture?”- Open the page, document or image you want to copy from, for example a table in a PDF.
- Press ⌘ Cmd + ⇧ Shift + 2. You can also select the Capture button in the isoboard window, or choose Capture region from the menu bar menu. See use isoboard from the menu bar.
- Drag over the area you want. Press Esc to cancel.
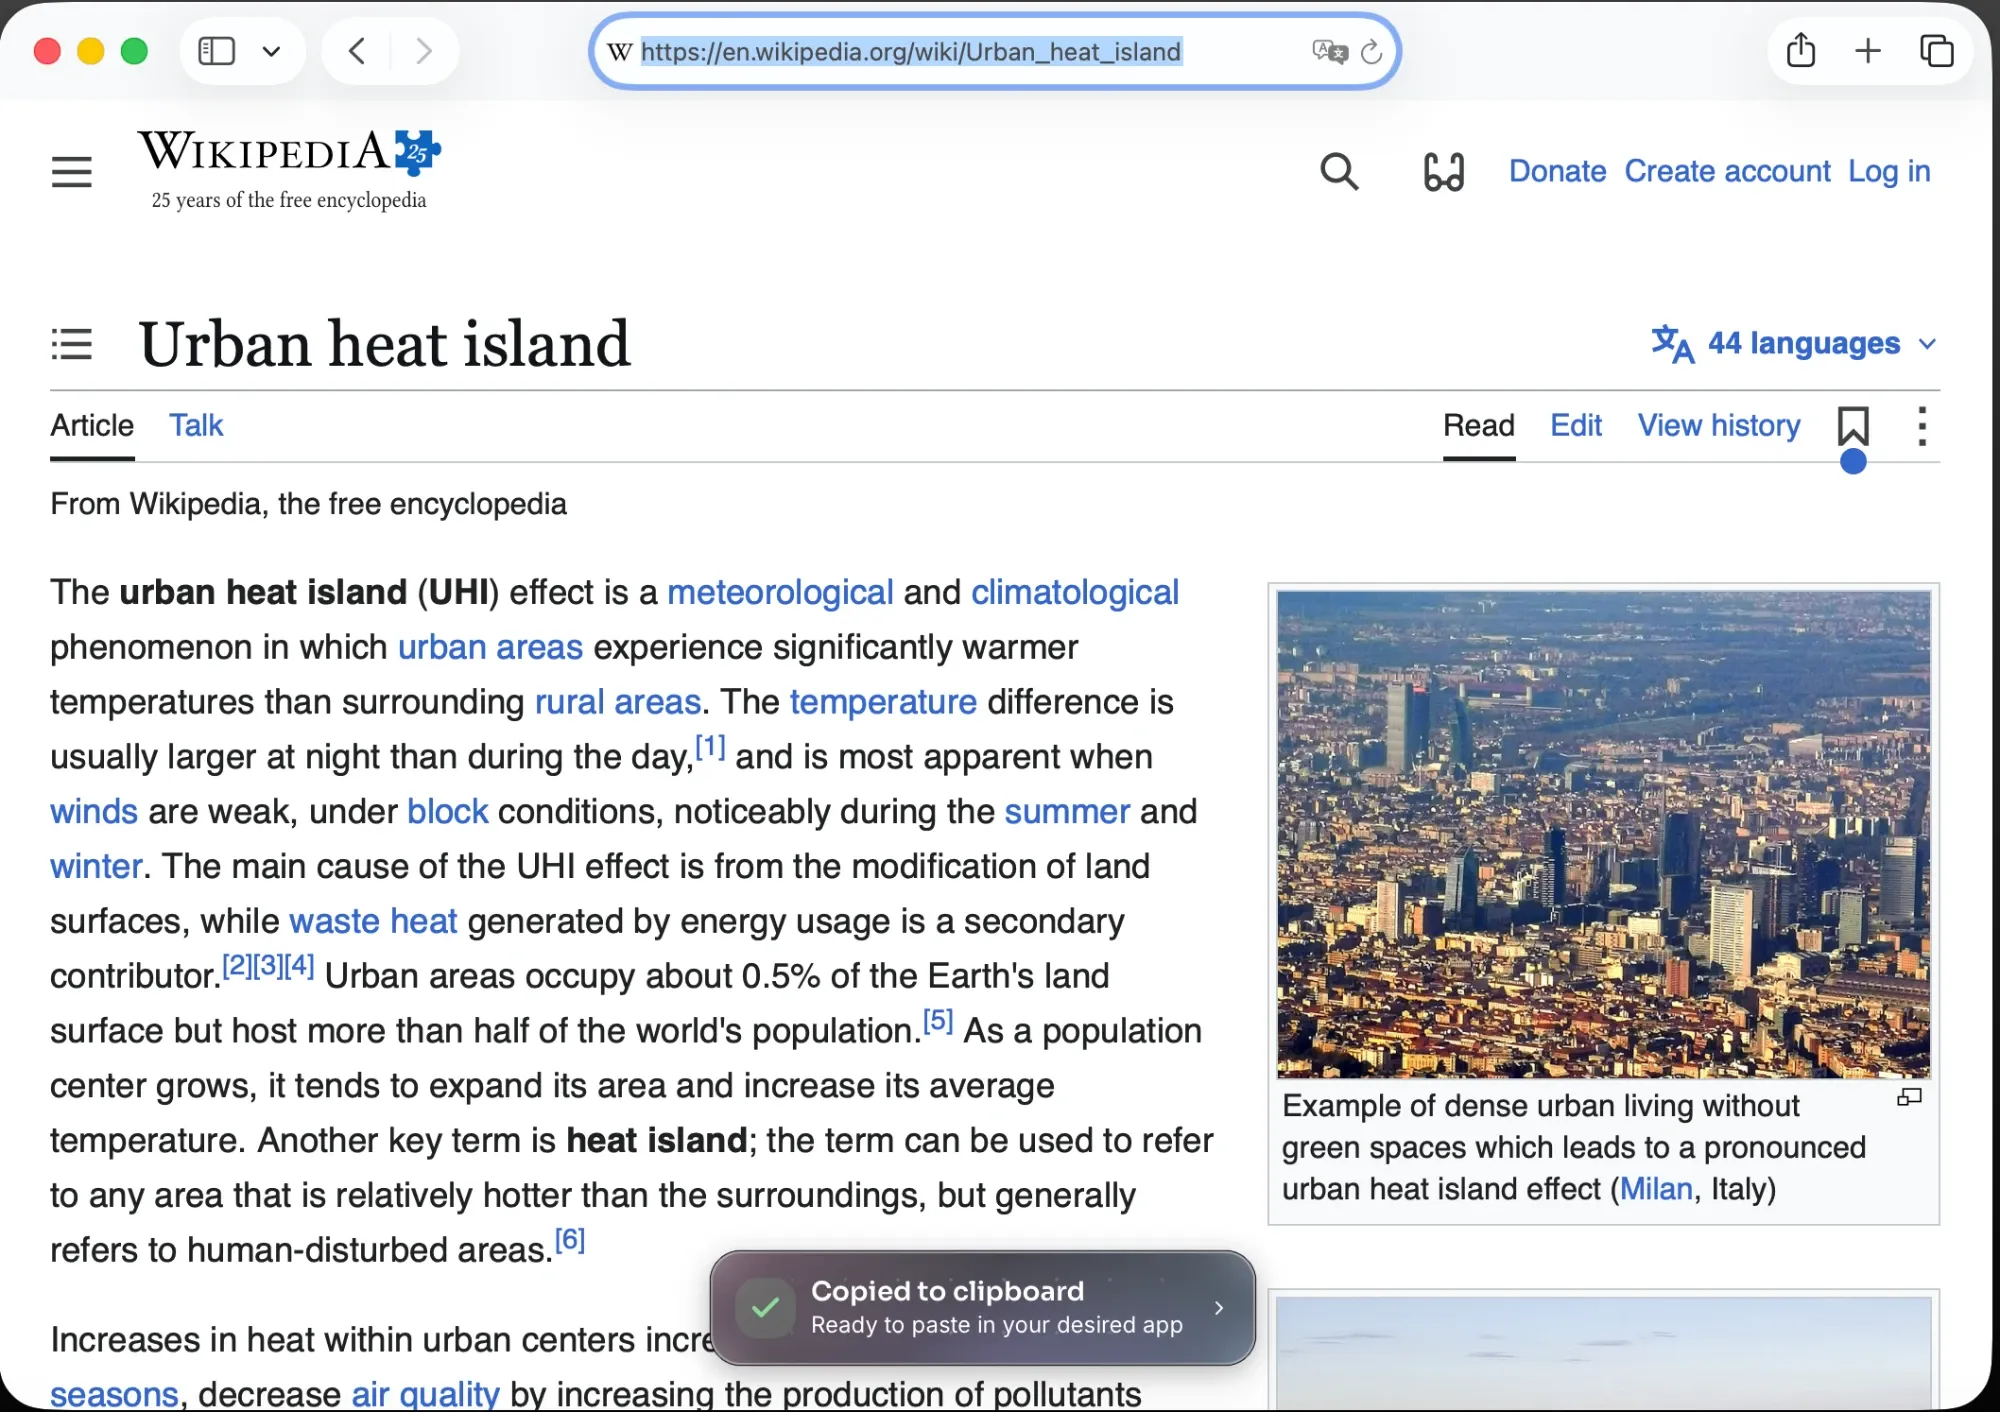
- Release the mouse button. A small overlay appears with Region captured, then Processing capture.
- Wait for Copied to clipboard and Ready to paste in your desired app.
The first conversion with isOCR shows Loading model while the model starts. Later captures are faster.
How do I paste the result?
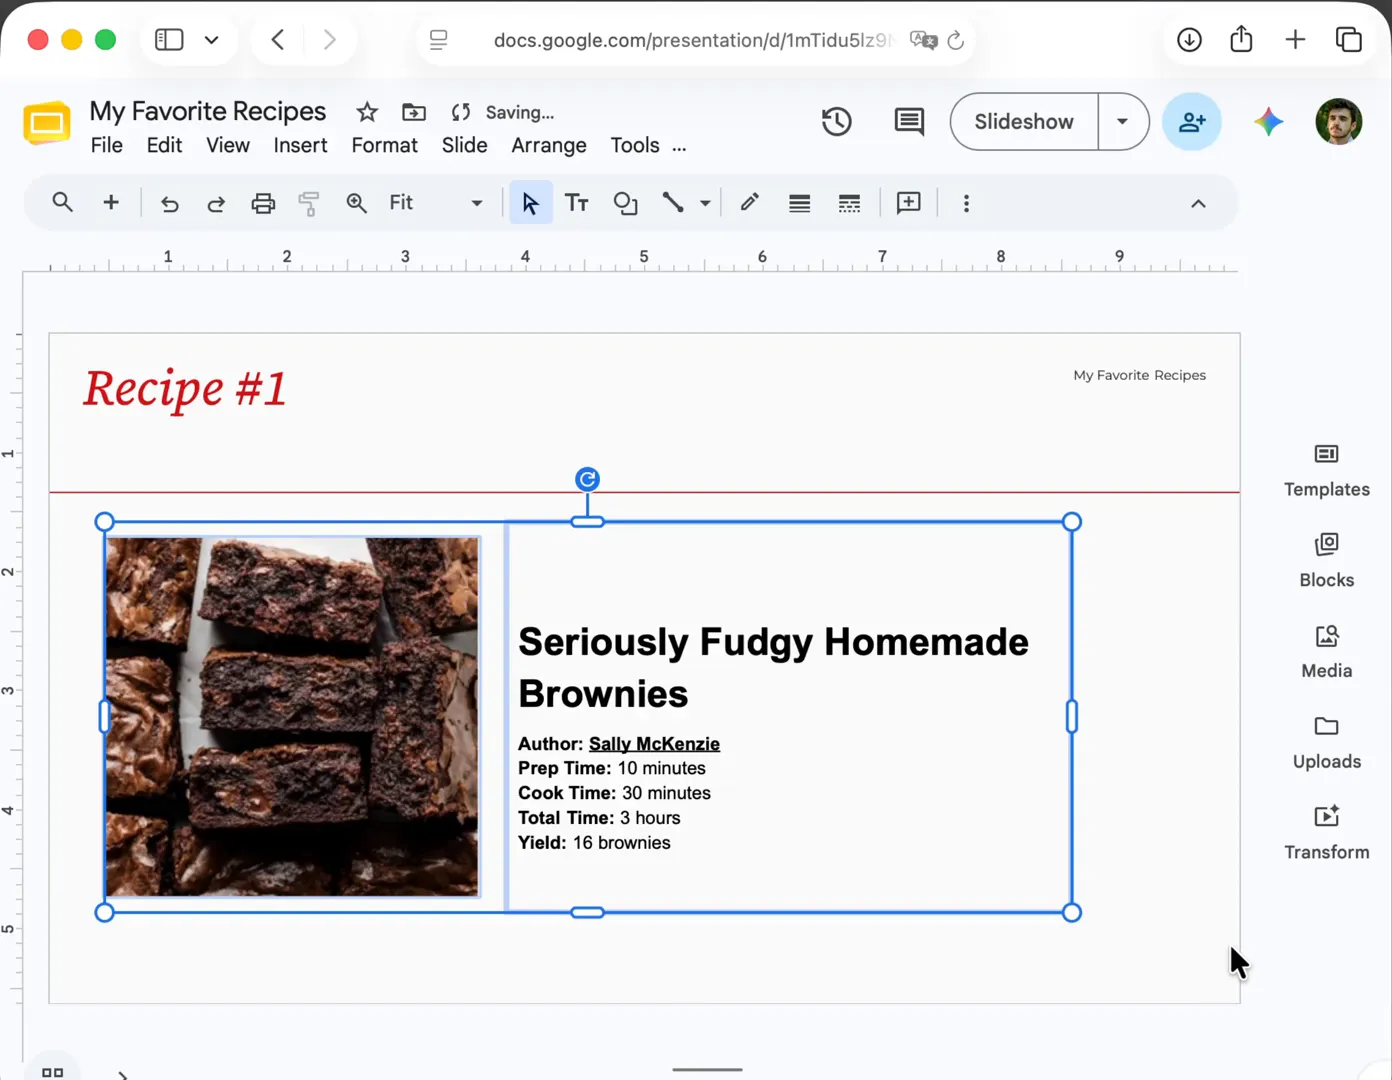
Section titled “How do I paste the result?”Switch to the app where you want the content and press ⌘ Cmd + V. Tables, formatting and images paste as rich content in apps that accept it. Other apps receive plain text. See paste results into other apps.
What if something goes wrong?
Section titled “What if something goes wrong?”- Nothing happens when I press the shortcut. Setup may be incomplete. The footer shows Setup incomplete until permission, a Profile and a model are ready. See shortcuts problems.
- The overlay says Capture failed. Click the overlay to open the failed entry in History, where the error is shown. See fix AI provider errors or capture and permission problems.
- The pasted result lost its formatting, tables or images. Not every app accepts everything isoboard copies, and some need a specific paste option. In Microsoft Word, for example, choose Keep Source Formatting when you paste. See which apps support isoboard results.
- The result is not what I expected. With a provider connected, try its Accurate Profile, or change what the Profile keeps. See set up Profiles.
What should I do next?
Section titled “What should I do next?”- Change the shortcut under the Shortcuts tab. See keyboard shortcuts.
- Add Additional Rules to translate or reformat what you capture.
- Review earlier captures in History.